This manual provides a comprehensive guide for installing and configuring the Honeywell Pro 3000 non-programmable digital thermostat, ensuring optimal performance and compatibility with various HVAC systems.
1.1 Overview of the Honeywell Pro 3000 Thermostat Series
The Honeywell Pro 3000 series offers a range of non-programmable digital thermostats designed for simplicity and reliability. Models like the TH3110D and TH3210D support 1 Heat/1 Cool and 2 Heat/1 Cool systems, respectively. These thermostats feature push-button controls, a backlit display, and compatibility with various HVAC systems, making them ideal for homeowners seeking straightforward temperature management solutions.
1;2 Importance of Proper Installation for Optimal Performance
Proper installation is crucial for the Honeywell Pro 3000 thermostat to function optimally. Incorrect wiring or misalignment can lead to performance issues, inefficient heating/cooling, and potential system damage. Following the manual ensures accurate connections, leveling, and setup, guaranteeing reliable operation, energy efficiency, and extended product lifespan while maintaining safety and comfort in your home.
System Requirements and Compatibility
The Honeywell Pro 3000 thermostat is designed for compatibility with 1 Heat/1 Cool and 2 Heat/1 Cool systems, including heat pump configurations, ensuring optimal performance and efficiency.
2.1 Supported HVAC Systems (1 Heat/1 Cool, 2 Heat/1 Cool)
The Honeywell Pro 3000 supports various HVAC configurations, including single-stage heating and cooling systems (1 Heat/1 Cool) and two-stage heating with single-stage cooling (2 Heat/1 Cool), providing flexible compatibility for different home setups.
2.2 Compatibility with Heat Pump Systems
The Honeywell Pro 3000 thermostat is compatible with heat pump systems, particularly the TH3210D model, which supports 2 Heat/1 Cool configurations. It ensures efficient operation by seamlessly integrating with heat pumps, providing both heating and cooling functionalities. Proper installation and setup are essential for optimal performance in such systems.
Wallplate Installation
Begin by removing the wallplate from the thermostat and pulling wires through the wire hole. Position the wallplate on the wall, ensuring it is level, and mark the hole positions with a pencil. Drill holes at the marked spots and secure the wallplate using the provided screws. Ensure the wires are properly routed and connected for a successful installation.
3.1 Preparing the Wall for Installation
Before installing the wallplate, ensure the wall is clean, dry, and free of debris. Turn off power to the HVAC system. Remove any existing thermostat or wallplate. Inspect wires for damage and ensure they are properly labeled. If necessary, mark the wall surface where the wallplate will be mounted, ensuring it is level and aligned correctly for a secure and professional installation.
3.2 Mounting the Wallplate
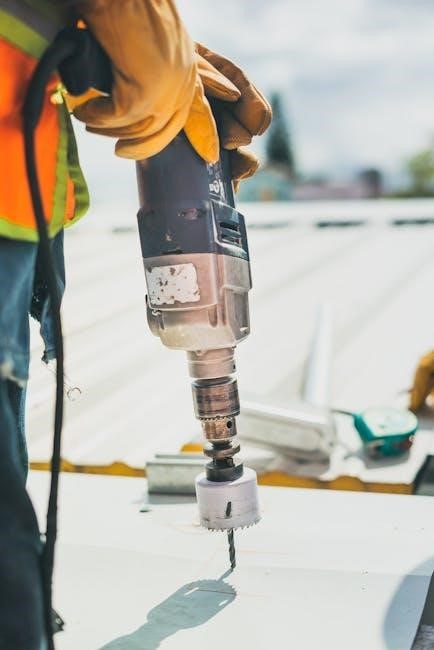
Mount the wallplate by pulling wires through the wire hole. Position it on the wall, ensuring it is level and aligned properly. Mark the screw hole positions with a pencil, then drill pilot holes if necessary. Secure the wallplate using the provided screws, tightening them firmly without overtightening to avoid damage. Ensure the wallplate is stable and even before proceeding with thermostat installation.
3.3 Pulling Wires Through the Wire Hole
Gently feed the HVAC wires through the wire hole in the wallplate. Ensure no wires are pinched or damaged during this process. Arrange the wires neatly to prevent tangles and facilitate connections. Smoothly pull the wires through, ensuring they extend sufficiently for thermostat mounting without slack. This step ensures proper connectivity and avoids installation complications later. Maintain wire organization for a clean setup.
Thermostat Wiring and Connections
Proper wiring and connections are crucial for the Honeywell Pro 3000 thermostat to function correctly. Follow the wiring diagram and manufacturer’s guidelines to ensure secure and accurate connections.
4.1 Understanding the Wiring Diagram
The wiring diagram in the Honeywell Pro 3000 manual illustrates the connections required for proper thermostat installation. It maps out wires for heating, cooling, and fan systems, ensuring compatibility with 1 Heat/1 Cool and 2 Heat/1 Cool configurations. The diagram is essential for accurate installation, helping users identify the correct terminals for their HVAC system setup.
- Refer to the wiring diagram for specific terminal connections.
- Ensure all wires are securely connected to avoid malfunctions.
4.2 Connecting the Thermostat to the HVAC System
Connecting the thermostat involves matching the wiring diagram to your HVAC system type, ensuring compatibility with 1 Heat/1 Cool or 2 Heat/1 Cool configurations. It supports heat pumps and dual-fuel systems. Always turn off power before connecting wires to avoid damage. Verify all terminals are correctly connected for proper operation. Refer to models TH3110D and TH3210D for specific guidance.
Mounting the Thermostat
Remove the wallplate from the thermostat, pull wires through the hole, position it level on the wall, mark hole positions, and secure it firmly.
5.1 Leveling the Thermostat for Proper Alignment
Ensure the thermostat is level during installation to maintain accurate temperature readings and proper function. Use a spirit level to align the wallplate, then mark and drill holes accurately for secure mounting. Proper alignment prevents operational issues and ensures the thermostat performs efficiently. Leveling is crucial for the device’s accuracy and longevity.
5.2 Securing the Thermostat to the Wallplate
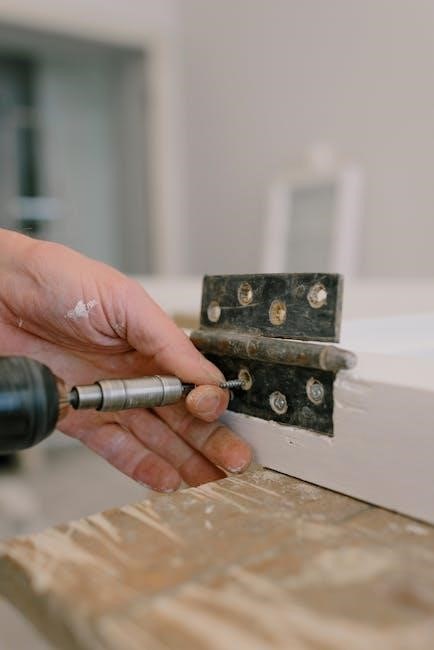
After leveling, attach the thermostat to the wallplate using the provided screws. Ensure it is snug to prevent movement but avoid over-tightening, which could damage the device. Properly securing the thermostat guarantees stable operation and accurate temperature control. This step is critical for maintaining the device’s functionality and ensuring compatibility with supported HVAC systems like 1 Heat/1 Cool or 2 Heat/1 Cool configurations.
Configuring the Thermostat
Configure the thermostat to match your HVAC system type (1 Heat/1 Cool or 2 Heat/1 Cool) and customize settings like temperature limits, operation modes, and display preferences for optimal performance.
6.1 Setting Up the Thermostat for Your HVAC System
Follow these steps to configure the thermostat for your specific HVAC system. Select the correct system type (1 Heat/1 Cool or 2 Heat/1 Cool) in the settings menu. Adjust temperature limits and operation modes to match your system’s capabilities. Ensure the fan operation and heat pump settings are correctly configured for optimal performance. Refer to the wiring diagram and system specifications for accuracy.
6.2 Customizing Operation Settings
Customize the thermostat’s operation settings to suit your preferences. Adjust temperature limits, fan operation, and swing cycles for consistent comfort. Set preferred temperature ranges and choose between energy-saving modes. Enable or disable features like auto-changeover for heat pumps. Configure the display settings, such as brightness and units, to enhance user experience. These adjustments ensure the thermostat operates efficiently and meets your specific needs;
Programming the Thermostat
Programming the Honeywell Pro 3000 thermostat allows you to set temperature schedules and preferences, optimizing comfort and energy efficiency. Follow the menu prompts to create daily and weekly schedules, adjusting temperature limits and swing cycles as needed. Ensure the time is correctly set and save your settings to enjoy customized climate control tailored to your lifestyle.
7;1 Scheduling Temperature Settings
Scheduling temperature settings on the Honeywell Pro 3000 thermostat allows you to customize comfort levels throughout the day. Set daily or weekly schedules to adjust heating and cooling based on your routine. Use the menu to program specific times and temperatures, optimizing energy efficiency. Ensure the time is accurately set before scheduling, and save your preferences to maintain consistent climate control.
7.2 Adjusting Temperature Limits and Preferences
Adjust temperature limits to optimize your HVAC system’s performance and energy efficiency. Set minimum and maximum temperature ranges to prevent extreme heating or cooling. Access these settings through the thermostat’s menu, selecting desired upper and lower limits. Save your preferences to maintain consistent comfort levels while reducing energy usage. Ensure settings align with your daily needs and system capabilities.
Powering Up and Initial Setup
Install fresh batteries immediately when the REPLACE BATT warning flashes. Power up the thermostat and follow on-screen instructions to initialize the system for proper functionality.
8.1 Installing Batteries
Install fresh batteries when the REPLACE BATT warning flashes, about two months before depletion. Use the recommended battery type, ensuring correct orientation. Secure the battery compartment tightly to maintain power. Proper installation ensures uninterrupted thermostat operation and prevents system malfunctions. Refer to the user guide for specific battery requirements and installation steps to guarantee optimal performance.
8.2 Initializing the Thermostat
After installing batteries, power on the thermostat and follow the on-screen instructions to initialize. Ensure the display lights up and all functions respond correctly. Review and confirm system settings, then allow the thermostat to run through its initialization cycle. This process ensures proper communication with your HVAC system and prepares it for accurate temperature control and scheduling. Test all features to confirm functionality.
Troubleshooting Common Issues
Identify error codes or unusual behavior and refer to the manual for solutions. Check wiring connections and ensure proper battery installation. If issues persist, contact Honeywell support.
9.1 Resolving Installation-Related Problems
Check wiring connections against the diagram. Ensure the wallplate is level and securely mounted. Verify all wires are properly seated and not damaged. If issues persist, consult the manual or contact support.
9.2 Addressing Common Error Codes
Refer to the error code list in the manual. Common issues include E1 (sensor problems) or E2 (communication errors). Check wiring connections and ensure proper system setup. Reset the thermostat by removing batteries for 30 seconds. If issues persist, consult the troubleshooting guide or contact Honeywell support for assistance.
Maintenance and Upkeep
Regularly clean the thermostat with a soft cloth and ensure batteries are replaced when the “REPLACE BATT” alert appears. Check for software updates periodically.
10.1 Cleaning the Thermostat
Regular cleaning ensures optimal performance. Turn off power at the breaker, then gently wipe the thermostat with a soft, dry cloth. Avoid harsh chemicals or liquids, as they may damage the display or internal components. This simple maintenance step helps maintain functionality and prevents dust buildup that could interfere with temperature sensing or operation.
10.2 Replacing Batteries
Replace batteries when the REPLACE BATT warning flashes, typically two months before depletion. Turn off power at the breaker, remove the thermostat, and open the battery compartment. Install fresh AA alkaline batteries correctly. Reattach the thermostat, restore power, and check the display for normal operation, ensuring uninterrupted system performance and functionality.