The Husqvarna YTH22V46 Service Manual is a comprehensive guide designed for both novice and experienced users. It provides detailed instructions for the operation, maintenance, and repair of the tractor. The manual includes troubleshooting tips, parts replacement information, and essential safety guidelines. Available as a free PDF download, it ensures users can keep their tractor in optimal condition. This resource is indispensable for anyone looking to service or repair their Husqvarna YTH22V46 lawn tractor efficiently and safely.
Overview of the Husqvarna YTH22V46 Lawn Tractor
The Husqvarna YTH22V46 is a powerful and versatile ride-on lawn tractor designed for medium to large lawns. It features a robust engine and hydrostatic transmission, ensuring smooth operation and efficient mowing. With a wide cutting width and adjustable height settings, it provides precise cutting performance. The tractor is built for durability and comfort, making it ideal for homeowners seeking reliable yard maintenance. Its user-friendly design and versatile attachments enhance its functionality for various landscaping tasks.
Importance of Using the Service Manual for Maintenance and Repairs
Using the Husqvarna YTH22V46 Service Manual is essential for proper maintenance and repairs. It provides detailed instructions to ensure tasks are performed safely and effectively. Regular maintenance, as outlined in the manual, prolongs the tractor’s lifespan and prevents costly repairs. The manual also helps users identify and address issues early, enhancing performance and reliability. By following the guidelines, users can maintain their tractor efficiently, ensuring optimal functionality and safety while operating or servicing the machine.
Downloading the Husqvarna YTH22V46 Service Manual
The Husqvarna YTH22V46 Service Manual is readily available as a free PDF download, offering easy access to essential maintenance and repair instructions for your lawn tractor.
Where to Find the Free PDF Version Online
The Husqvarna YTH22V46 Service Manual is widely available online as a free PDF download. You can find it on official Husqvarna websites, online marketplaces like Amazon, or forums dedicated to lawn tractor maintenance. Additionally, websites specializing in repair manuals often host this document. Ensure you download from a trusted source to avoid malware. Some popular platforms include ManualsLib, ManualsOnline, and Husqvarna’s official customer support page. Always verify the file’s authenticity before downloading.
Steps to Download and Save the Manual
To download the Husqvarna YTH22V46 Service Manual, visit trusted websites like ManualsLib, ManualsOnline, or Husqvarna’s official site. Search for the model number, select the PDF version, and click the download link. Once downloaded, save the file to your device for easy access. For future reference, consider creating a backup or printing the manual. Ensure the file is from a reliable source to avoid malware or incorrect information.
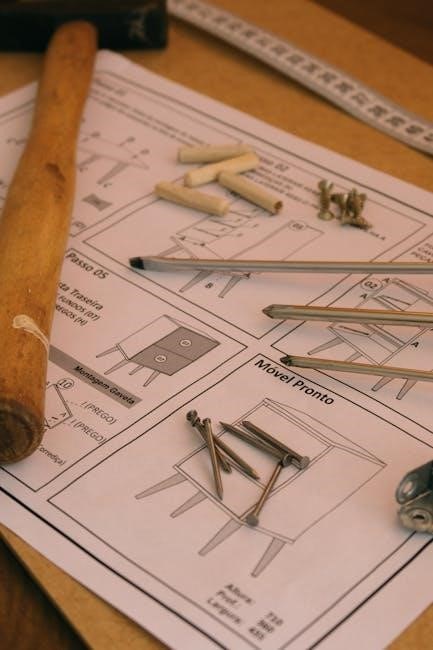
Contents of the Husqvarna YTH22V46 Service Manual
The manual covers maintenance schedules, repair procedures, and troubleshooting guides. It includes detailed sections on engine service, mower deck adjustments, and safety precautions, ensuring comprehensive understanding and care for the tractor.
Key Sections and Topics Covered
The manual includes detailed sections on maintenance schedules, engine service procedures, and mower deck adjustments. It also covers troubleshooting common issues, oil change procedures, and safety guidelines. Additional topics such as parts replacement, diagnostic techniques, and warranty information are provided. The manual is organized to help users navigate easily, ensuring they can perform tasks efficiently and safely. Each section is supported by clear instructions and diagrams for optimal understanding and application.
Navigating the Manual for Easy Reference
The manual is designed for easy navigation, featuring a clear table of contents and interactive bookmarks. Users can quickly locate specific sections using the search function. The document includes visual aids like diagrams and charts to simplify complex procedures. Each chapter is logically organized, allowing users to find information efficiently. The manual’s structure ensures that even novice users can navigate seamlessly, making it an invaluable resource for maintaining and repairing the Husqvarna YTH22V46 lawn tractor.
Maintenance Guidelines from the Service Manual
The manual outlines regular maintenance tasks, including oil changes, blade sharpening, and tire pressure checks. It also covers deck alignment and belt inspections to ensure optimal performance and longevity.
Scheduled Maintenance Tasks
The Husqvarna YTH22V46 service manual emphasizes regular maintenance to ensure optimal performance. Tasks include oil changes every 50 hours, blade sharpening, and tire pressure checks. The manual also recommends deck alignment and belt inspections every 100 hours. Additionally, it advises cleaning the air filter monthly and replacing it every 300 hours. Following these schedules helps prevent mechanical issues, extends the tractor’s lifespan, and ensures safe operation. Proper maintenance also enhances cutting efficiency and overall machine reliability.
Oil Change and Fluid Replacement Procedures
The Husqvarna YTH22V46 service manual outlines clear steps for oil changes and fluid replacements. Regular oil changes are recommended every 50 hours of operation. Ensure the tractor is on a level surface and warm the engine before draining the oil. Use the specified oil type for optimal performance. Dispose of used oil responsibly. The manual also covers procedures for checking and refilling other essential fluids, such as hydraulic and transmission fluids; Always refer to the manual for specific guidelines to avoid damage and ensure longevity. Proper fluid maintenance is crucial for smooth operation and extending the tractor’s lifespan.
Safety Precautions and Guidelines
Safety is critical when operating or servicing the Husqvarna YTH22V46. Always wear protective gear like gloves and goggles. Ensure the area is clear of obstacles and bystanders. Shut off the engine, engage the brake, and use jack stands for support during maintenance. Adhere to all safety guidelines to prevent accidents and ensure proper tractor operation.
Essential Safety Tips for Operating and Servicing
Safety is paramount when operating or servicing the Husqvarna YTH22V46. Always wear protective gear, including gloves, goggles, and sturdy footwear. Ensure the tractor is on level ground before dismounting. Turn off the engine, engage the parking brake, and disconnect the PTO (Power Take-Off) before performing any maintenance. Use jack stands for added stability when working underneath the tractor. Avoid loose clothing that could get caught in moving parts, and keep children and pets away. Regularly inspect the tractor for damage or wear to ensure safe operation.
Preventive Measures to Avoid Accidents
Preventive measures are crucial for safe operation. Regularly inspect the tractor for worn or loose parts and ensure all safety guards are in place. Always follow the manufacturer’s guidelines for load limits and terrain suitability. Keep the tractor well-maintained to avoid mechanical failures. Properly train anyone operating the tractor, and ensure they understand all controls; Never operate the tractor under the influence of alcohol or drugs, and stay alert to avoid obstacles. These steps help minimize risks and ensure a safe working environment.
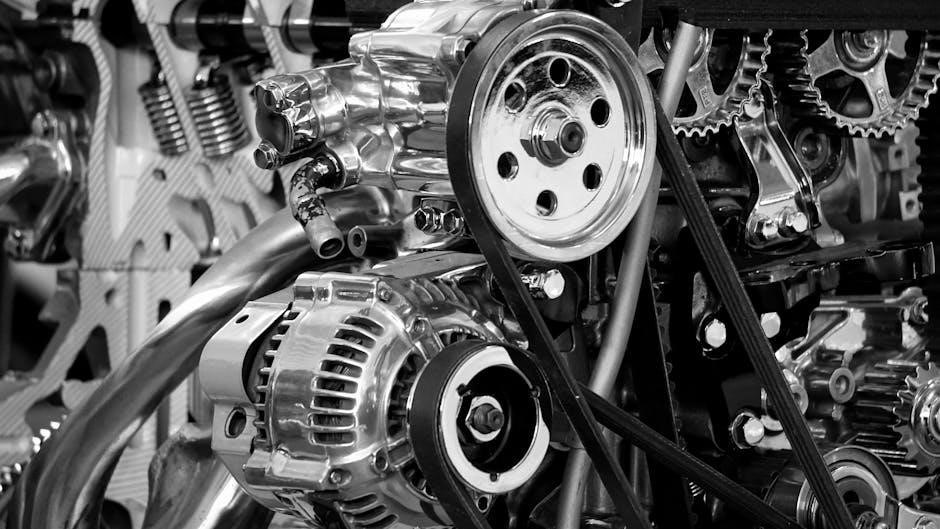
Troubleshooting Common Issues
The Husqvarna YTH22V46 service manual provides guidance on diagnosing and resolving common issues such as engine problems, mower deck malfunctions, and transmission difficulties. It offers step-by-step solutions and quick fixes to help users address these problems efficiently, ensuring optimal tractor performance and longevity.
Identifying and Diagnosing Problems
The Husqvarna YTH22V46 service manual provides clear guidance for identifying and diagnosing common issues. It includes detailed error identification charts, symptom checks, and diagnostic procedures. Users can easily pinpoint problems such as engine failure, mower blade issues, or transmission malfunctions. The manual offers a systematic approach to troubleshooting, ensuring accurate diagnoses and effective repairs. By following the manual’s instructions, users can address problems efficiently, minimizing downtime and extending the tractor’s lifespan.
Quick Fixes and Solutions
The Husqvarna YTH22V46 service manual offers practical quick fixes for common issues. For example, if the tractor won’t start, check the battery connections and fuel level. Blade engagement problems can often be resolved by cleaning debris or replacing worn belts. The manual also provides step-by-step solutions for oil leaks, uneven cutting, and transmission issues. These quick fixes enable users to restore functionality promptly, ensuring minimal disruption to lawn maintenance tasks. Regular checks and simple repairs can prevent more complex problems from developing over time.
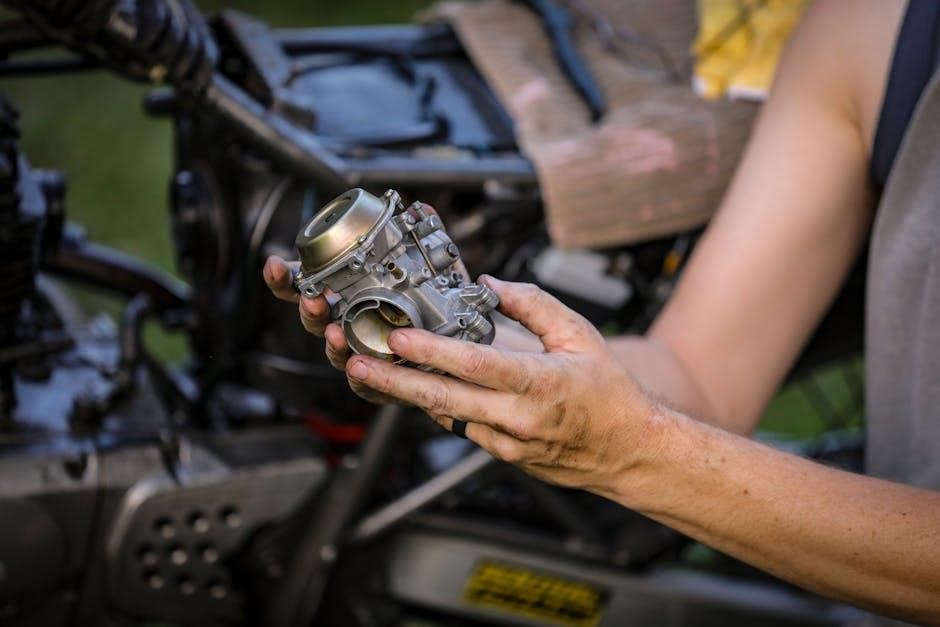
Repair Parts and Replacement Information
The Husqvarna YTH22V46 service manual provides a detailed parts list and exploded diagrams, making it easier to identify and order replacement components. It outlines repair procedures, ensuring accurate and efficient replacements for optimal tractor performance.
Locating Repair Parts for the YTH22V46
The Husqvarna YTH22V46 service manual includes detailed parts diagrams and lists, enabling users to identify and locate specific components for repair. The manual is available as a free PDF download, providing easy access to parts information. Users can refer to the manual’s parts catalog or contact Husqvarna customer support for assistance in ordering genuine replacement parts. This ensures accurate and efficient repairs, keeping the tractor operational and performance optimal.
Understanding the Parts Diagram
The Husqvarna YTH22V46 service manual features detailed parts diagrams to help users identify components. Each diagram is labeled with part numbers, enabling easy reference for repairs. Users can cross-reference these numbers with the manual’s index or Husqvarna’s parts catalog. This visual guide simplifies the process of locating and ordering replacement parts, ensuring accurate repairs. By understanding the diagrams, users can efficiently maintain and service their tractor, avoiding confusion and ensuring proper functionality.
DIY Repair and Service Tips
The manual offers DIY repair tips, including maintenance schedules, troubleshooting guides, and step-by-step repair instructions. It helps users service their tractor effectively with minimal tools.
Step-by-Step Guides for Common Repairs
The Husqvarna YTH22V46 Service Manual provides detailed, step-by-step guides for common repairs, such as blade sharpening, belt replacement, and oil changes. It includes clear instructions and diagrams to help users diagnose and fix issues efficiently. The manual emphasizes safety and proper techniques, ensuring repairs are done correctly. Whether you’re a novice or experienced user, these guides make maintenance and repairs straightforward, saving time and money. Follow the manual’s instructions to keep your tractor running smoothly and safely.
Tools and Equipment Needed
The Husqvarna YTH22V46 Service Manual lists essential tools and equipment required for maintenance and repairs. These include a socket set, wrenches, screwdrivers, and safety gear like gloves and goggles. Specialized tools, such as a torque wrench and oil drain pan, are also recommended. Having these tools readily available ensures that tasks can be completed efficiently and safely. The manual emphasizes the importance of using the correct equipment to avoid damage and ensure proper repairs. Always refer to the manual for specific tool requirements.
Husqvarna Customer Support and Resources
Husqvarna provides comprehensive customer support, including phone, email, and online chat assistance. Additional resources like FAQs, repair guides, and tutorial videos are available on their official website.
Contacting Husqvarna for Assistance
For assistance with your Husqvarna YTH22V46, contact their customer support via phone, email, or live chat. Visit their official website for a toll-free number and additional support options. Online resources include FAQs, repair guides, and tutorial videos to help resolve issues. Their dedicated team ensures prompt and effective solutions for all your tractor-related queries, making it easy to maintain or repair your equipment with confidence and professionalism.
Additional Resources for Troubleshooting
Beyond the service manual, Husqvarna offers extensive online resources for troubleshooting. Visit their official website for FAQs, detailed repair guides, and video tutorials. Online forums and communities also provide user-shared solutions and tips. For complex issues, authorized Husqvarna dealers and customer support teams are available to assist. These resources ensure comprehensive support for diagnosing and resolving problems with your YTH22V46 lawn tractor.