Colorbond roofing is a trusted choice for Australian homes, offering durability and weather resistance. Made from high-quality steel, it’s lightweight yet strong, ideal for various weather conditions. The installation process involves several essential steps, ensuring a secure and long-lasting roof. Proper tools and professional guidance are recommended for optimal results.
Overview of Colorbond Roofing Benefits
Colorbond roofing offers exceptional durability, resistance to harsh weather, and a sleek, modern appearance. It is lightweight, fire-resistant, and available in various colors to suit any home design. The pre-painted steel ensures minimal maintenance and long-lasting performance, making it a cost-effective and sustainable choice for homeowners seeking a reliable roofing solution.
Importance of Proper Installation Techniques
Proper installation of Colorbond roof sheets is crucial for ensuring structural integrity and weather-tightness. Incorrect alignment, insufficient overlap, or improper fastening can lead to leaks and damage. Following manufacturer guidelines and using the right tools ensures a secure and durable installation, maximizing the lifespan of the roof and maintaining its aesthetic appeal over time.
Preparation for Installation
Preparation for Colorbond roof installation involves measuring the area, removing old materials, and installing sarking to ensure a smooth and secure base for the new sheets.
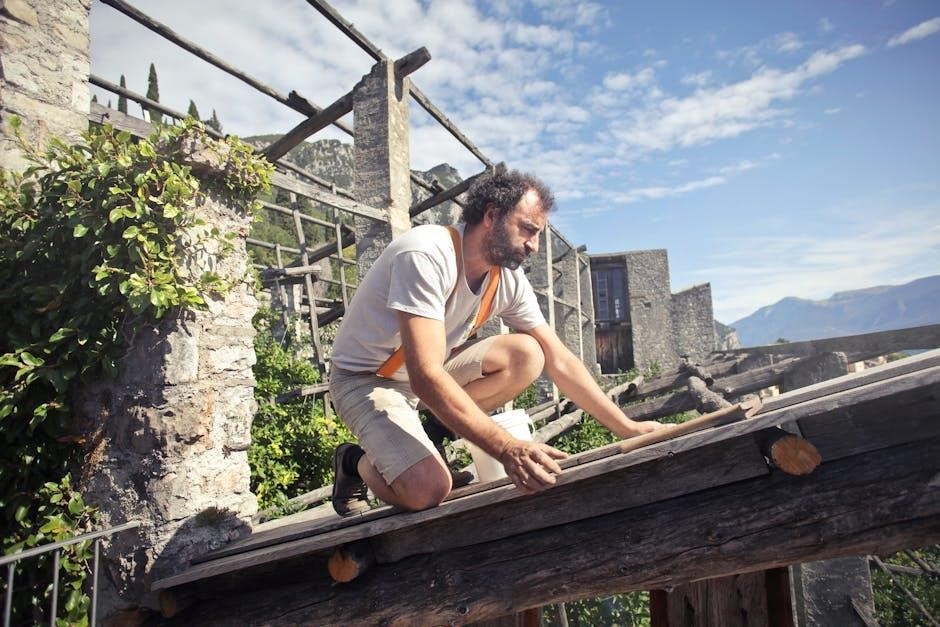
Measuring and Assessing the Roof Area
Accurate measurement is crucial for Colorbond roof installation. Measure the length and width of the roof to determine the number of sheets needed. Consider the pitch, valleys, and hips to ensure proper alignment. Marking these areas helps in cutting sheets accurately. This step ensures minimal waste and a precise fit, avoiding costly mistakes during installation.
Removing Old Roofing Materials
Removing old roofing materials is essential before installing Colorbond sheets. Start by stripping existing tiles, corrugated iron, or other coverings. Use pry bars and safety gear to avoid injury. Ensure all debris is cleared, and the roof frame is inspected for damage. This step ensures a clean, stable base for the new roofing system, preventing future issues.
Installing Sarking or Roof Blankets
After removing the old roofing, install sarking or roof blankets to provide thermal insulation and weather protection. These materials are laid across the entire roof area, ensuring a smooth surface for the Colorbond sheets. Properly secure them with fasteners and ensure no gaps remain. This step enhances energy efficiency and protects the roof from external elements before installing the final roofing layers.
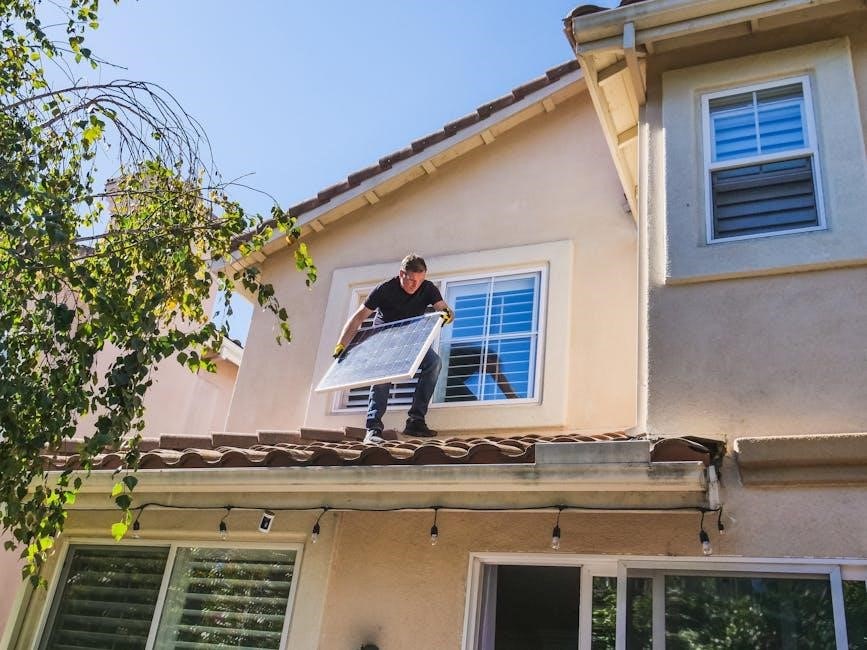
Laying Colorbond Roof Sheets
Laying Colorbond roof sheets involves measuring, cutting, and positioning them correctly. Start at the bottom edge, aligning sheets carefully to ensure proper overlap and direction for weather-tight performance.
Aligning and Positioning the First Sheet
Start by aligning the first Colorbond sheet at the bottom edge of the roof, ensuring it is square and evenly positioned. Carefully check the alignment to avoid misplacement. Secure the sheet temporarily with fasteners, leaving room for expansion. Proper positioning is critical to ensure the rest of the roof sheets align correctly and provide a weather-tight seal. Accuracy here sets the foundation for a successful installation.
Ensuring Proper Overlap and Direction
Proper overlap and direction are critical for a watertight Colorbond roof. Sheets should overlap by at least one and a half corrugations, facing the same direction to prevent water ingress. Always lay sheets against the prevailing wind to minimize the risk of leaks and ensure structural integrity. Correct overlap and alignment guarantee a durable and weather-resistant roofing system.
Cutting Sheets for Hips, Valleys, and Obstructions
Cutting Colorbond sheets for hips, valleys, and obstructions requires precision. Use metal shears or power saws to ensure accurate cuts. Mark sheets according to roof measurements and fit them around obstructions like vents or skylights. Proper cutting ensures a seamless fit and prevents leaks. Incorrect cuts can lead to installation issues, so careful planning is essential for a professional finish and structural integrity.
Securing the Roof Sheets
Secure Colorbond sheets using appropriate screws, ensuring proper spacing and alignment. This prevents leaks and enhances structural integrity, guaranteeing a durable and weather-tight roof installation.
Fixing Sheets with Appropriate Fasteners
Fixing Colorbond sheets requires high-quality fasteners, such as hex-head screws, to ensure a secure and durable attachment. Screws should be spaced evenly, typically 300mm apart, and driven into the roof battens. Proper torque ensures the sheets are tightly fastened without over-tightening, which can damage the material. Using the right fasteners prevents corrosion and ensures a long-lasting, weather-tight roof.
Sealing Overlaps and Edges
Sealing overlaps and edges is crucial for preventing leaks and ensuring a durable Colorbond roof installation. Apply silicone sealant or weatherproof adhesive tape along all overlaps, aligning them according to the manufacturer’s instructions. Proper sealing techniques prevent water seepage and maintain the structural integrity of the roof, ensuring long-term performance and protection against harsh weather conditions.
Installing Ridge Caps and Cappings
Ridge caps and cappings are fitted to cover roof peaks, hips, and valleys, ensuring a watertight seal. They are securely fastened to prevent weather damage and leaks.
Fitting Ridge Caps
Fitting ridge caps is a crucial step in ensuring a watertight roof. Start by aligning the cap with the roof’s peak, securing it with compatible fasteners. Ensure the cap overlaps the roof sheets by the recommended margin to prevent gaps. Use a level to maintain even placement and avoid uneven surfaces. Proper fitting ensures durability and weather resistance, safeguarding against leaks and structural damage over time.
Securing Hip and Valley Cappings
Securing hip and valley cappings is essential for weatherproofing. Align cappings tightly along hips and valleys, ensuring they fit snugly over the roof sheets. Use compatible fasteners to attach them firmly, spacing them evenly as recommended. Avoid overtightening, which could damage the material. Regularly inspect cappings for loose fasteners or gaps and re-secure them if necessary to maintain roof integrity and prevent water ingress.
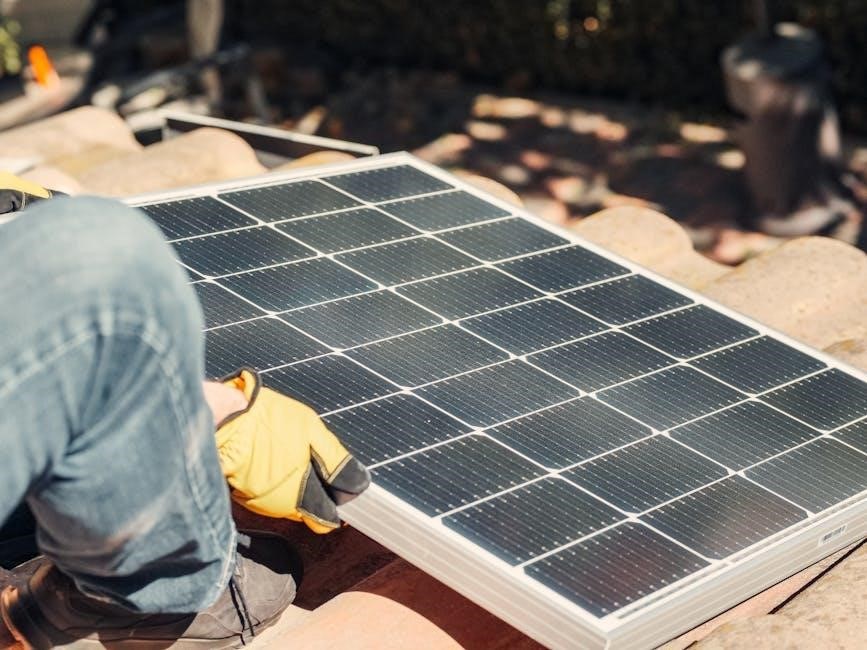
Safety Considerations
Wear protective gear, including gloves and safety glasses, when handling materials. Ensure sturdy ladder placement and maintain three-point contact while climbing. Use safety harnesses on steep roofs and secure loose clothing to avoid accidents. Keep tools and materials organized to prevent tripping hazards and always work with a partner for added safety.
Precautions to Avoid Injury
Always wear protective gear, including gloves, safety glasses, and a hard hat. Ensure ladder stability and maintain three-point contact while climbing. Avoid loose clothing that may catch on tools or materials. Use safety harnesses on steep roofs and secure tools to prevent drops. Keep walkways clear of debris and never work alone. Regularly inspect equipment for damage before use.
Managing Heavy Materials Safely
Use proper lifting techniques to avoid strain; Bend at the knees and lift with your legs, not your back. Always wear gloves for better grip and control. Ensure sheets are securely supported to prevent sliding. Use mechanical aids like trolleys or pulleys to move heavy materials. Never lift sheets during windy conditions and always have a second person assist with handling large or heavy sections.
Tools and Equipment Needed
Essential tools include metal shears, drills, and hex head screws for secure fixing. Safety gear like gloves and harnesses is crucial. Use ladders and scaffolding for access, and utility knives for cutting materials. Ensure all equipment is in good condition to handle the durable Colorbond sheets safely and efficiently.
Essential Tools for Cutting and Fixing
The installation requires specialized tools like metal shears or a power saw for cutting sheets. Drills and impact drivers are needed for securing with hex head screws. Utility knives can trim edges, while chalk lines help mark alignments. Additionally, ladders, scaffolding, and roof clamps ensure safe handling of heavy materials during the process.
Specialized Equipment for Handling Sheets
Specialized equipment like roof clamps and lifting devices are essential for safely handling heavy Colorbond sheets. Lifting trolleys and dollies help transport materials, while safety harnesses prevent accidents. Roofing stands and scaffolding provide stable work platforms. These tools ensure sheets are securely positioned and protected from damage during installation, adhering to safety guidelines to avoid injuries and material damage.
Budgeting and Cost Estimation
Colorbond roof sheets cost between $18 to $36.50 per sheet, with installation adding $40 to $60 per square meter. Labor charges vary, so precise quotes are essential for accurate budgeting.
Calculating Material Costs
To estimate material costs, measure the roof area and determine the number of Colorbond sheets required. Each sheet ranges from $18 to $36.50, depending on size and profile. Additional materials like fasteners, sarking, and cappings add to the total. Summing these costs provides a clear budget baseline before installation begins.
Factoring in Labor Charges
Labor charges for Colorbond roof installation typically range from $40 to $60 per square meter, depending on complexity. These costs cover installation, handling, and securing the sheets. Contacting licensed professionals for precise quotes ensures accurate budgeting; Labor costs vary based on roof size, design, and installer expertise, making them a significant part of the overall expense.
Maintenance and Post-Installation Checks
Regular inspections ensure the roof’s durability and weather resistance. Clean debris and check for leaks or damage. Avoid contact with incompatible materials to prevent corrosion and maintain performance.
Inspecting for Leaks and Damage
Regularly inspect Colorbond roof sheets for leaks, especially around overlaps and fasteners. Check for signs of damage, such as dents or scratches, which may compromise the roof’s integrity. Use chalk to mark any leaks or damage for easy identification during repairs. Ensure all fasteners are securely tightened and free from corrosion. Addressing issues promptly prevents further damage and maintains the roof’s durability and weather resistance.
Cleaning and Ongoing Maintenance
Regularly clean Colorbond roof sheets by removing dirt, leaves, and debris with a soft brush or hose. Avoid harsh chemicals or abrasive cleaners, as they may damage the finish. Inspect and clean gutters to ensure proper water flow. Trim nearby tree branches to prevent debris accumulation. Schedule routine maintenance every 6-12 months to maintain the roof’s appearance and performance, ensuring longevity and weather resistance.
Common Mistakes to Avoid
Avoid incorrect overlap and alignment of sheets, as this can lead to leaks. Ensure proper fastener usage and avoid cutting sheets on the roof to prevent damage and ensure a secure, weather-tight installation.
Incorrect Overlap and Alignment
Incorrect overlap and alignment of Colorbond roof sheets can lead to leaks and structural weaknesses. Proper overlap ensures water runs off smoothly, while misalignment can cause water ingress. Always follow manufacturer guidelines for overlap measurements and direction to maintain the roof’s integrity and durability, preventing costly future repairs and ensuring a watertight seal.
Improper Use of Fasteners
Using incorrect fasteners or over-tightening can damage Colorbond roof sheets, leading to leaks and reduced durability. Fasteners must be compatible with the steel type to prevent corrosion. Ensure screws are driven straight and not over-tightened, as this can cause stress fractures. Always follow manufacturer guidelines for fastener type, spacing, and torque to maintain the roof’s structural integrity and weatherproofing capabilities effectively.
Proper installation ensures a durable, weather-resistant roof, offering long-term protection and enhancing your home’s appearance with minimal maintenance.
Final Tips for a Successful Installation
Ensure all tools are ready before starting. Always follow manufacturer guidelines for materials and fasteners. Measure carefully to minimize waste; Cut sheets on the ground to avoid damage. Align sheets with the prevailing wind direction for optimal sealing. Double-check overlaps and fasteners for security. Regular maintenance will extend the roof’s lifespan and performance.
Benefits of a Well-Installed Colorbond Roof
A well-installed Colorbond roof offers exceptional durability, resisting harsh weather conditions. It provides excellent thermal performance, reducing energy costs. The wide range of colors enhances curb appeal. Low maintenance requirements ensure long-term savings. A properly fitted roof prevents leaks and structural damage. Investing in a Colorbond roof ensures a safe, stylish, and energy-efficient home for years to come.